 You-tube


Configure Business Central Container in Docker
This document contains the process for the installation & configuration of Docker Business Central container.
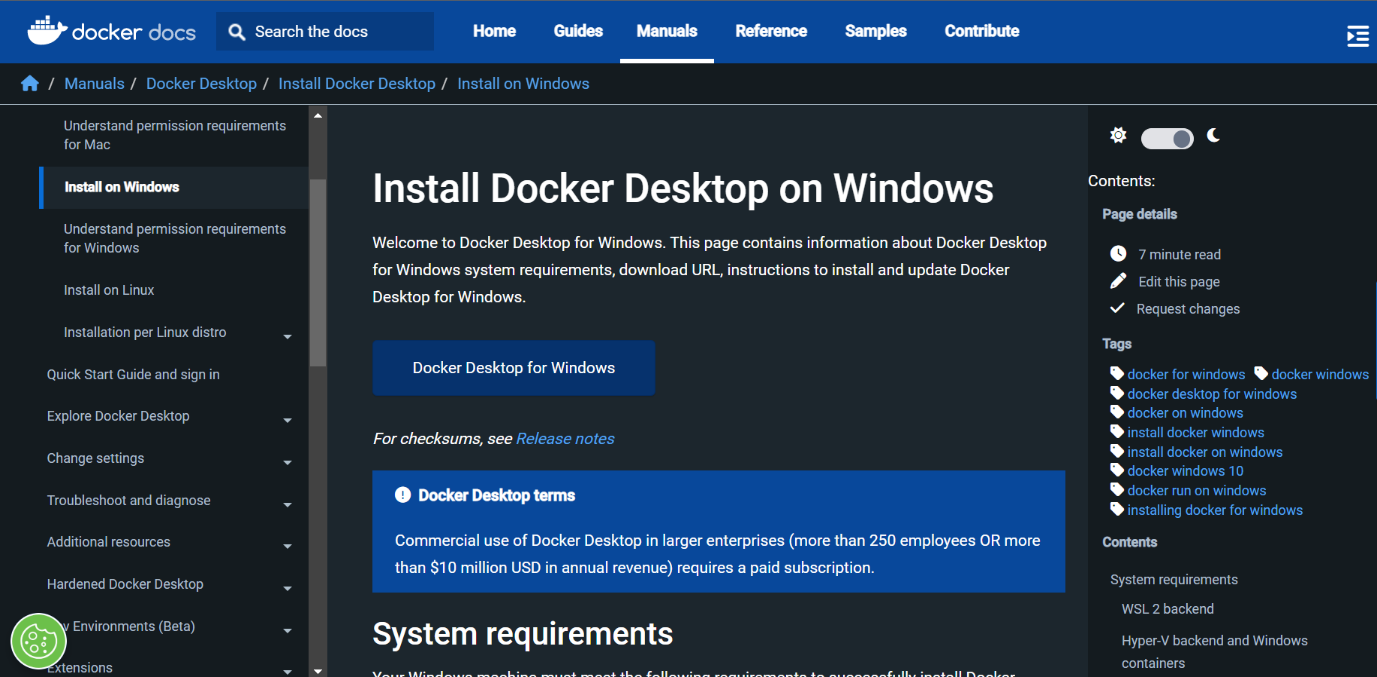
Download the Docker by clicking on Docker Desktop
Download the Docker by clicking on Docker Desktop for Windows button and install.
https://docs.docker.com/desktop/install/windows-install/
Installation Process:

Restart the computer and Go to Windows
Restart the computer and Go to Windows right bottom corner, find Docker icon, right-click and select “Switch to Windows containers”.

Open PowerShell ISE with run as administrator
Open PowerShell ISE with run as administrator and run below script. In the installation process, you will have a pop-up window where you must type your new Username and Password. Password must contain lowercase and uppercase, number, and symbol.

Script:
Set-ExecutionPolicy -ExecutionPolicy RemoteSigned
Install-Module BcContainerHelper -Force -AllowClobber
https://go.microsoft.com/fwlink/?linkid=861843
$containername = “DockerBC”
$imagename = “bccontainer22”
$credential = Get-Credential -Message ‘Using UserPassword authentication. Please enter credentials for the container.’
$artifactUrl = Get-BCArtifactUrl -type sandbox -version 22.0.54157.55343 -country w1 -select Closest
New-BCContainer `
-accept_eula `
-containerName $containername `
-credential $credential `
-artifactUrl $artifactUrl `
-imageName $imagename `
-memoryLimit 4G `
-auth NavUserPassword `
-shortcuts Desktop `
-updateHosts `
-assignPremiumPlan `
-doNotCheckHealth `
-accept_outdated `
-includeAL `
-isolation hyperv
You’ll get the Web Client URL
You’ll get the Web Client URL and other information response.

Login Screen: Use the Credential which you have entered while configuration process.

Business Central Container is ready to use.