 You-tube


Integrating Shopify with Dynamics 365 Business Central streamlines e-commerce operations by synchronizing data between the two platforms. This integration typically enables seamless management of orders, products, customers, and inventory across both systems. When a customer places an order on Shopify, the integration automatically creates a corresponding sales order in Business Central, ensuring efficient order processing and fulfillment.
Product information, including descriptions, prices, and stock levels, is synchronized between Shopify and Business Central, maintaining consistency across online and offline sales channels.
Customer data is also synchronized, allowing businesses to provide personalized experiences and targeted marketing campaigns. Overall, Shopify integration with Business Central optimizes e-commerce workflows, improves data accuracy, and enhances the overall customer experience.
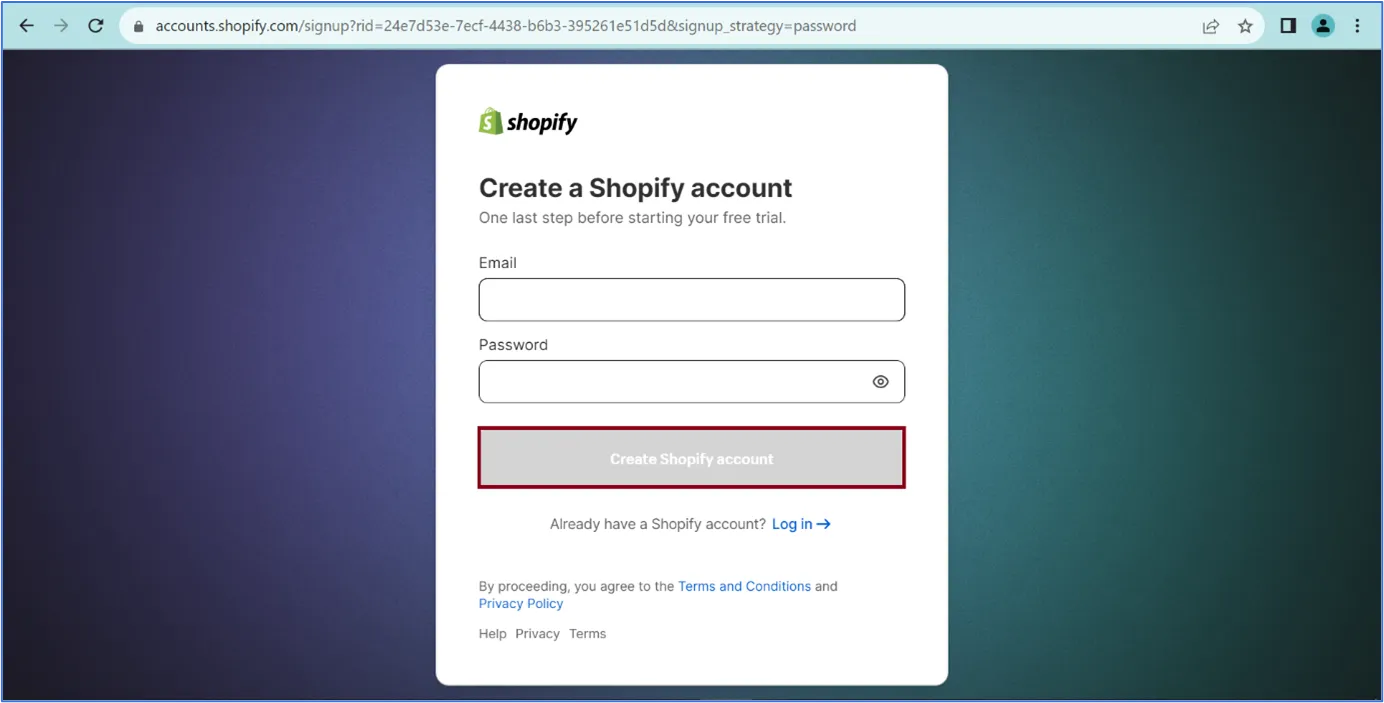
Step 1
Open the below-provided link to create a trial Shopify account
Step 2
Log in to your Shopify account and create a store.
You will need to add some basic details of your store. Follow the steps below.


Step 3
Specify the name of your store in store details.

In the side navigation bar you will find the tab named as “Apps”.

Step 4
Log into the shopify app store and search the Dynamics 365 Business Central and you will find the standard Business central App there in app store so now just install that business central application into your shopify.


You will need to signup with your business central account to link it with shopify.

Step 5
Open the business central from shopify and create a new Shopify shop in Shops list page.

You will need to add your shop details on the shop card page.

Add the specification to sync Item of Business central with products on shopify, same way specify the details to sync the Prices, Customers and orders with shopify.


Step 6
You will need to make the Enabled Boolean true on the shopify shop card page once all the setup is done.


Step 7
When you enable the Boolean you may face an error like below so for that you’ll need to open the extension management and open the card page of the extension Shopify Connector app and then enable the Boolean of “Allow HttpClient Request”.

Step 8
You can start the synchronization process like as shown below for the customer in the staging table of shopify customers.
Go to Shopify -> Customer -> Start customer Sync.

Job queue is working to sync the entities as you specify on shop card page.


Step 9
Same way you can process for the other entities as shown below for items and orders.
Go to Shopify -> Home -> Add Items


Step 10
Shopify -> Home -> Sync Orders from Shopify


Thank you for investing your time to read our blog! We’re passionate about sharing valuable insights to help you navigate the world of Business Central.
If you’re curious about how we can assist you in reaching your goals, don’t hesitate to get in touch. Our dedicated team is ready to provide support every step of the way.
Let’s turn your vision into reality together!